2. 添加GraphQL模式
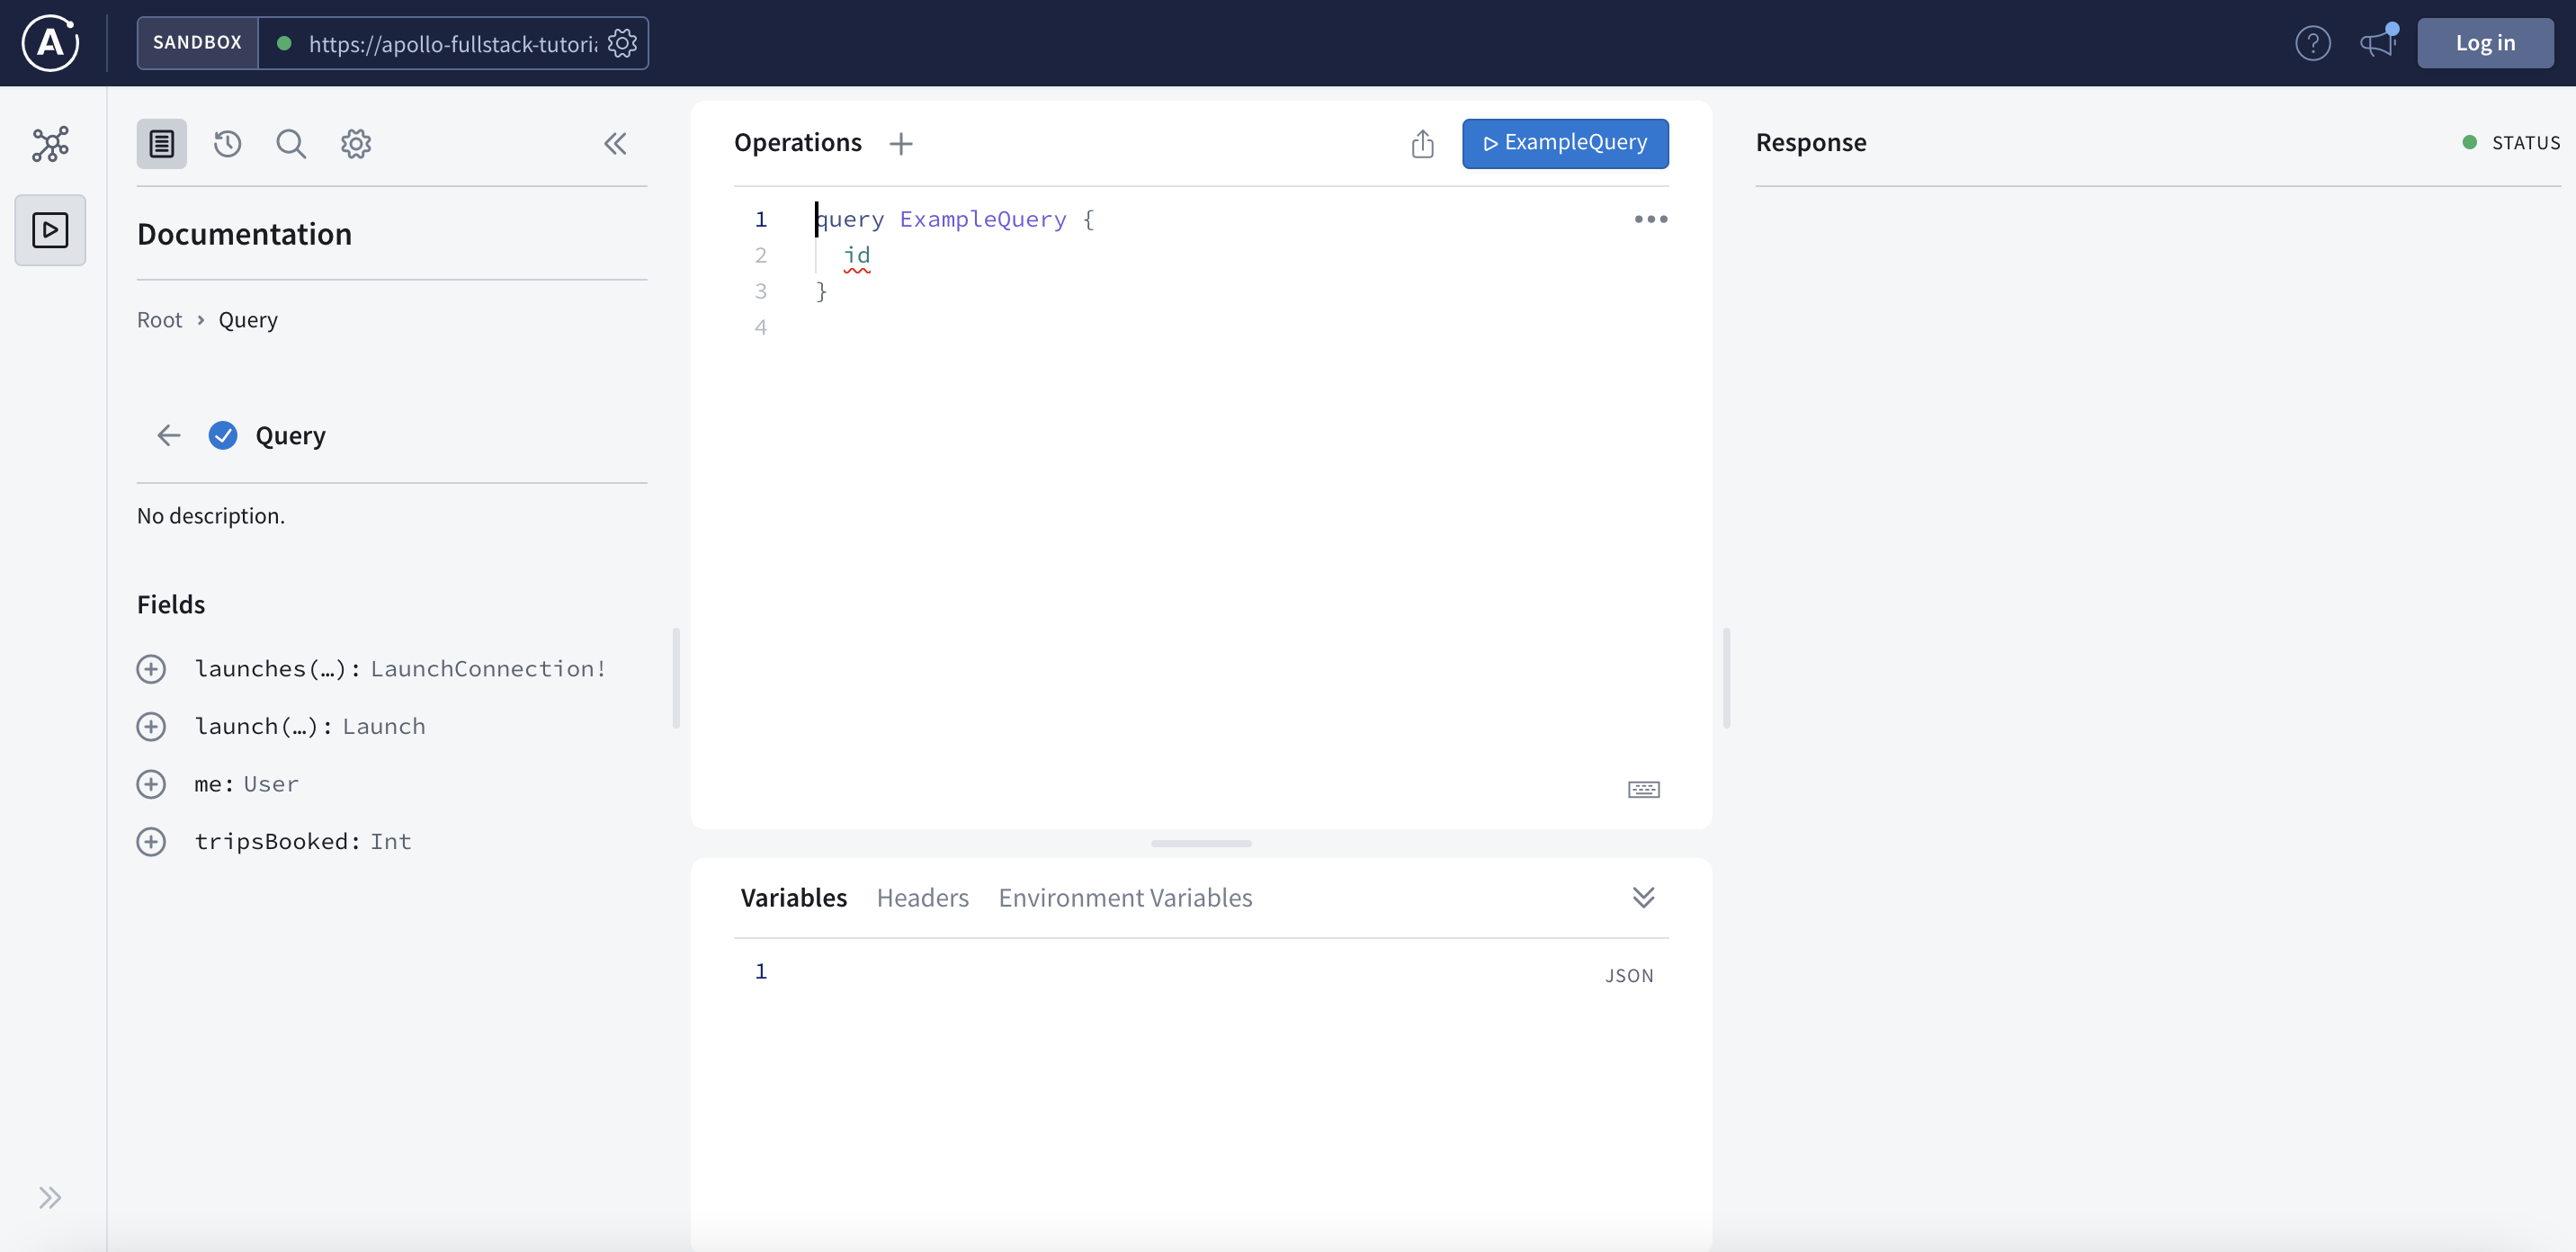
本教程使用的是修改版本的GraphQL服务器您在构建过程中作为 Apollo 全栈教程. 你可以访问 该服务器上的 GraphOS Studio 沙盒探索器 以无需登录的方式探索其模式:

你知道此沙盒实例指向我们的服务器,因为其 URL,https://apollo-fullstack-tutorial.herokuapp.com,在页面左上角的地方。如果沙盒适当地连接,你会看到一个绿色的点:

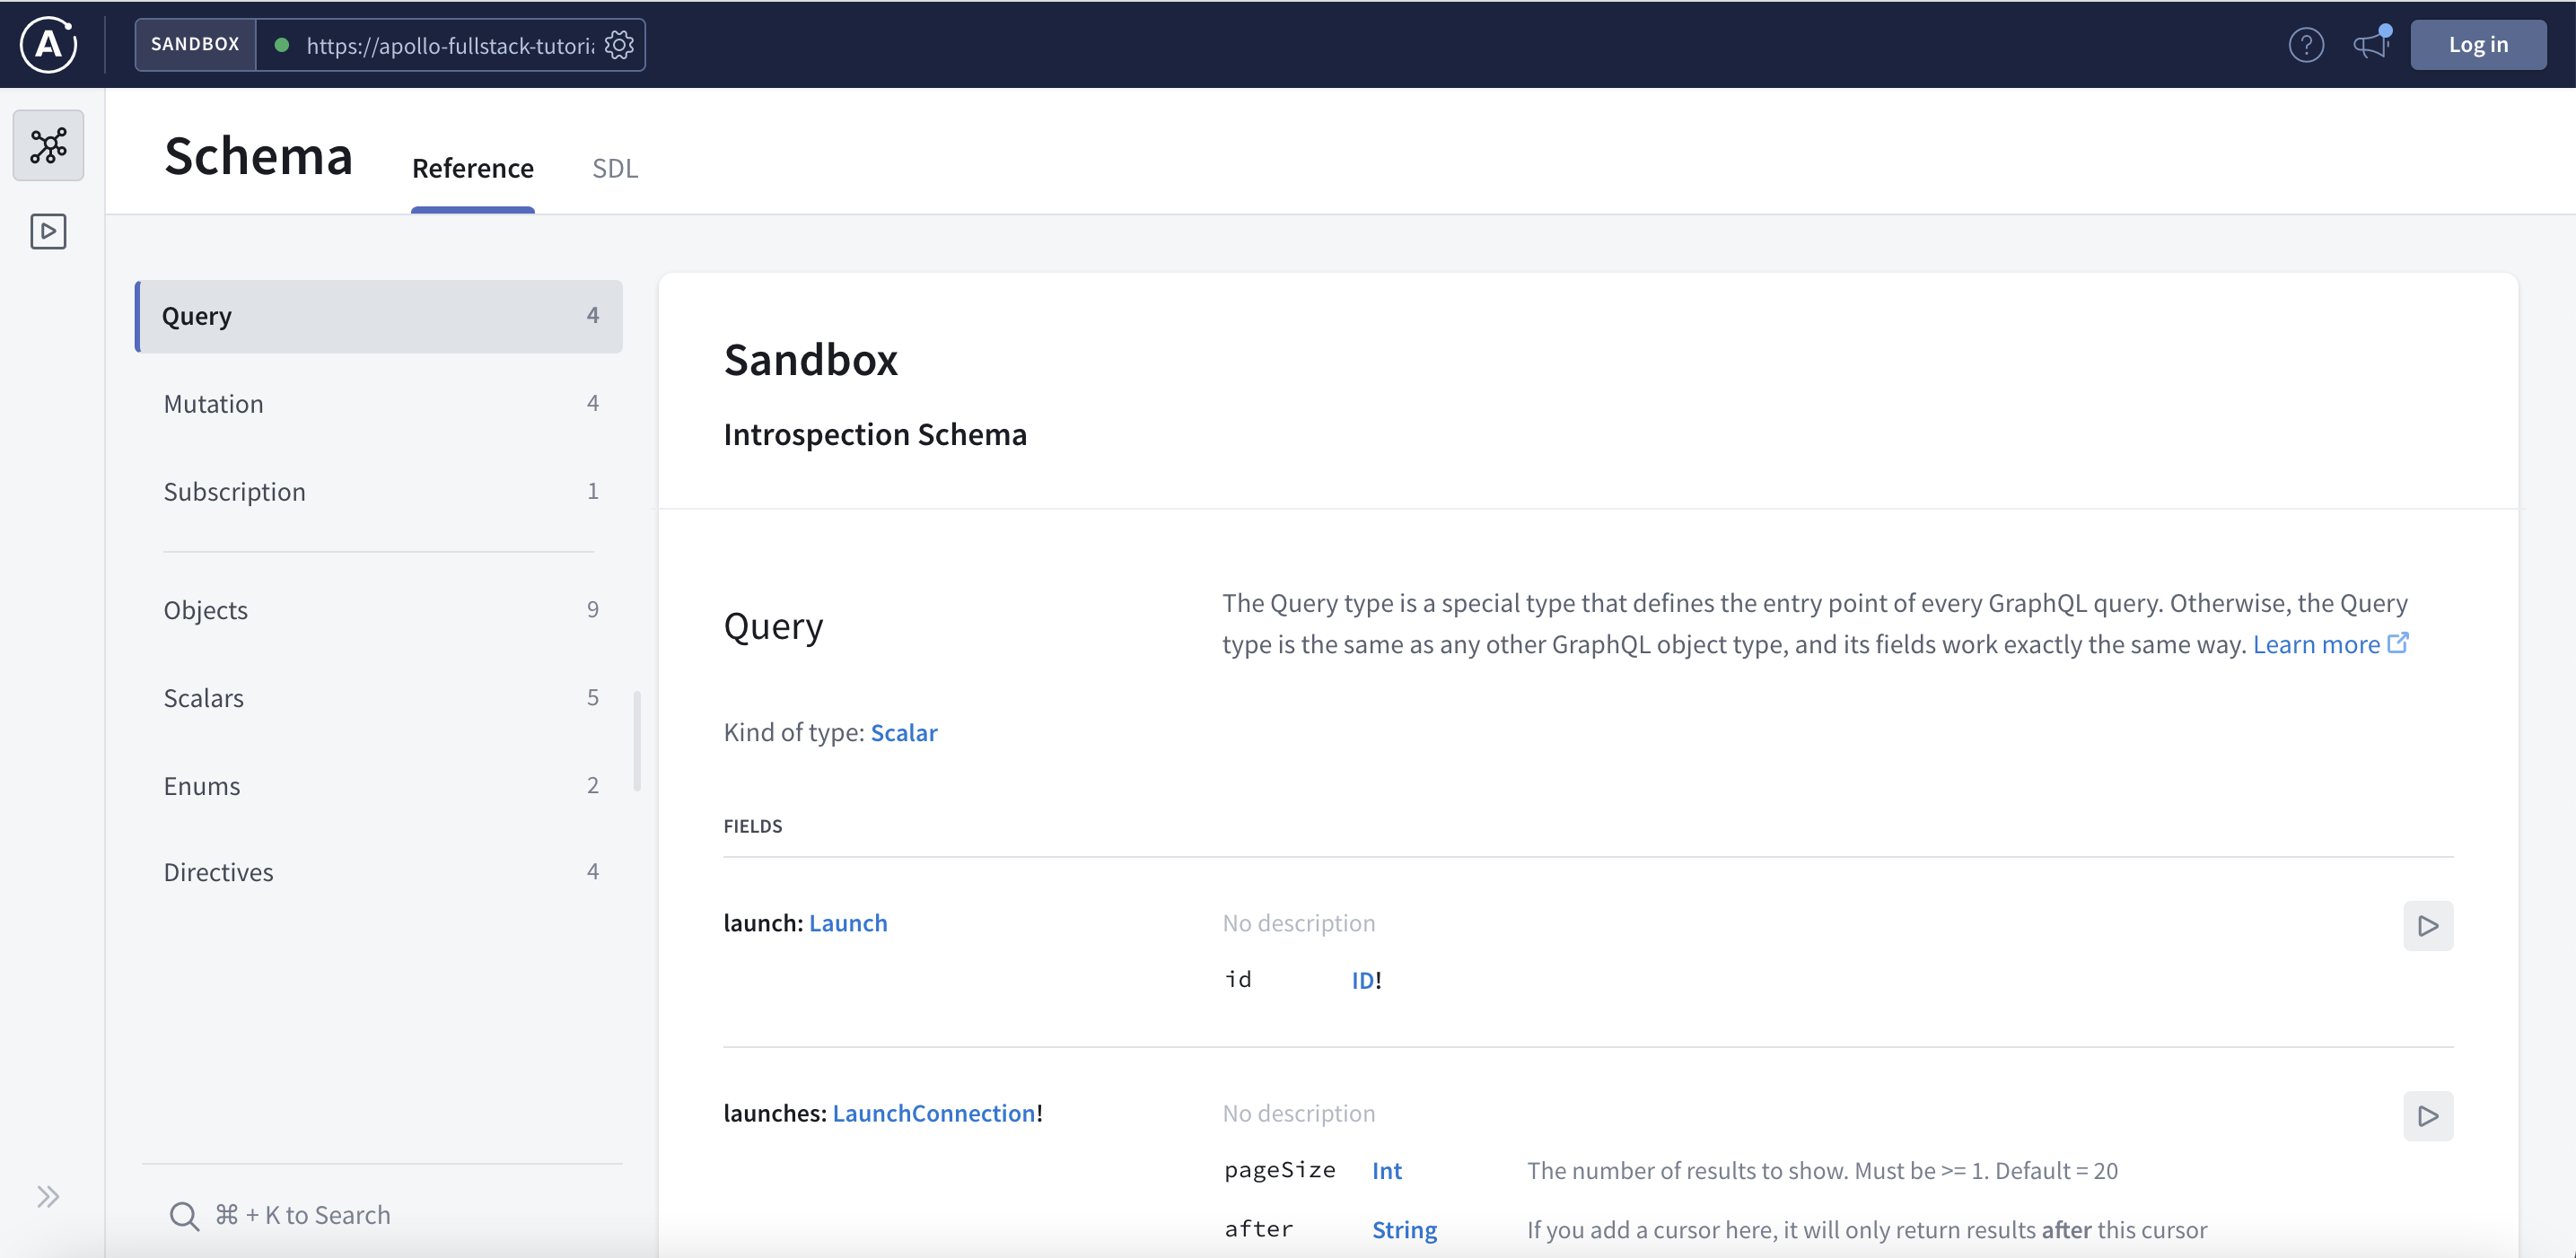
该模式定义了你的服务器可以执行哪些 GraphQL 操作。在左上角,点击模式图标以获取模式概述:
在 参考选项卡中,你现在可以看到一个列表,列出了作为此 API 消费者你可以使用的一切,包括所有对象上可用的 字段:

下载服务器模式
Apollo Kotlin 需要一个模式从查询生成类型安全的模型和代码。有几种获取模式的方法。例如,你可以转到 SDL 选项卡,使用 GraphOS Studio 沙盒下载原始的 SDL 模式。
在本教程中,我们将使用 Apollo 插件自动创建的 Gradle 任务。由于 GraphQL 支持 introspection,这将与具有 introspection< span> 启用的任何 GraphQL 站点。
首先,将 GraphQL 站点的 URL 和预期模式的存储位置添加到 Apollo Gradle 配置中:
app/build.gradle.kts
apollo {service("service") {packageName.set("com.example.rocketreserver")introspection {endpointUrl.set("https://apollo-fullstack-tutorial.herokuapp.com/graphql")schemaFile.set(file("src/main/graphql/schema.graphqls"))}}}
然后,在Android Studio的终端标签中从项目的根目录运行以下命令
(外壳)
./gradlew :app:downloadServiceApolloSchemaFromIntrospection
这将从你的端点下载一个schema.graphqls文件到app/src/main/graphql/schema.graphqls。
如果你安装了Android Studio 插件,你也可以从工具 | Apollo | 下载 Schema下载方案。
接下来,编写你的第一个查询,它使用此方案。