8. 添加详细视图
在本节中,您将编写第二个GraphQL 查询 请求有关单个 发射 。
创建详细查询
创建一个名为GraphQL 的新查询:LaunchDetails.graphql。
如 $cursor 所示,添加一个名为 id 的变量。注意,这次这个变量是一个非可选类型。您无法像对 $cursor 那样传递 null。
由于是详细视图,请请求 missionPatch 的 LARGE 大小。也要请求火箭的类型和名称:
query LaunchDetails($id: ID!) {launch(id: $id) {idsitemission {namemissionPatch(size: LARGE)}rocket {nametype}isBooked}}
您可以在“工作室资源管理器”中进行实验,并在左侧侧边栏查看可用字段列表。
执行查询并更新UI
在 LaunchDetails.kt 中,声明 response 和一个 LaunchedEffect 以执行查询:
@Composablefun LaunchDetails(launchId: String) {var response by remember { mutableStateOf<ApolloResponse<LaunchDetailsQuery.Data>?>(null) }LaunchedEffect(Unit) {response = apolloClient.query(LaunchDetailsQuery(launchId)).execute()}
在UI中使用响应。这里我们也将使用Coil的 AsyncImage 为徽章
Column(modifier = Modifier.padding(16.dp)) {Row(verticalAlignment = Alignment.CenterVertically) {// Mission patchAsyncImage(modifier = Modifier.size(160.dp, 160.dp),model = response?.data?.launch?.mission?.missionPatch,placeholder = painterResource(R.drawable.ic_placeholder),error = painterResource(R.drawable.ic_placeholder),contentDescription = "Mission patch")Spacer(modifier = Modifier.size(16.dp))Column {// Mission nameText(style = MaterialTheme.typography.headlineMedium,text = response?.data?.launch?.mission?.name ?: "")// Rocket nameText(modifier = Modifier.padding(top = 8.dp),style = MaterialTheme.typography.headlineSmall,text = response?.data?.launch?.rocket?.name?.let { "🚀 $it" } ?: "",)// SiteText(modifier = Modifier.padding(top = 8.dp),style = MaterialTheme.typography.titleMedium,text = response?.data?.launch?.site ?: "",)}}
显示加载状态
由于 response 初始化为 null,您可以使用此作为结果尚未接收到的指示。
为了使代码结构更清晰,将详细UI提取到单独的函数中,该函数接受响应作为参数
@Composableprivate fun LaunchDetails(response: ApolloResponse<LaunchDetailsQuery.Data>) {Column(modifier = Modifier.padding(16.dp)) {
现在在原始 LaunchDetails 函数中,检查 response 是否为 null,如果是,则显示加载指示器,否则使用新的函数调用响应:
@Composablefun LaunchDetails(launchId: String) {var response by remember { mutableStateOf<ApolloResponse<LaunchDetailsQuery.Data>?>(null) }LaunchedEffect(Unit) {response = apolloClient.query(LaunchDetailsQuery(launchId)).execute()}if (response == null) {Loading()} else {LaunchDetails(response!!)}}
处理协议错误
在执行查询时,可能会发生两种类型的错误:
- 协议错误。连接问题、HTTP错误或JSON解析错误将抛出
ApolloException。 - 应用程序错误。在这种情况下,
response.errors将包含应用程序错误,而response.data可能是null。
自 Apollo Kotlin 抛出 ApolloException 异常时,您需要在调用周围添加 try/catch 块。
首先创建一个 LaunchDetailsState 封闭接口,它将包含 UI 的可能状态:
private sealed interface LaunchDetailsState {object Loading : LaunchDetailsStatedata class ProtocolError(val exception: ApolloException) : LaunchDetailsStatedata class Success(val data: LaunchDetailsQuery.Data) : LaunchDetailsState}
然后,在 LaunchDetails 中,将调用 execute 放在 try/catch 块中,并将结果包装到 State 中:
@Composablefun LaunchDetails(launchId: String) {var state by remember { mutableStateOf<LaunchDetailsState>(Loading) }LaunchedEffect(Unit) {state = try {Success(apolloClient.query(LaunchDetailsQuery(launchId)).execute().data!!)} catch (e: ApolloException) {ProtocolError(e)}}// Use the state
现在使用状态来显示适当的 UI
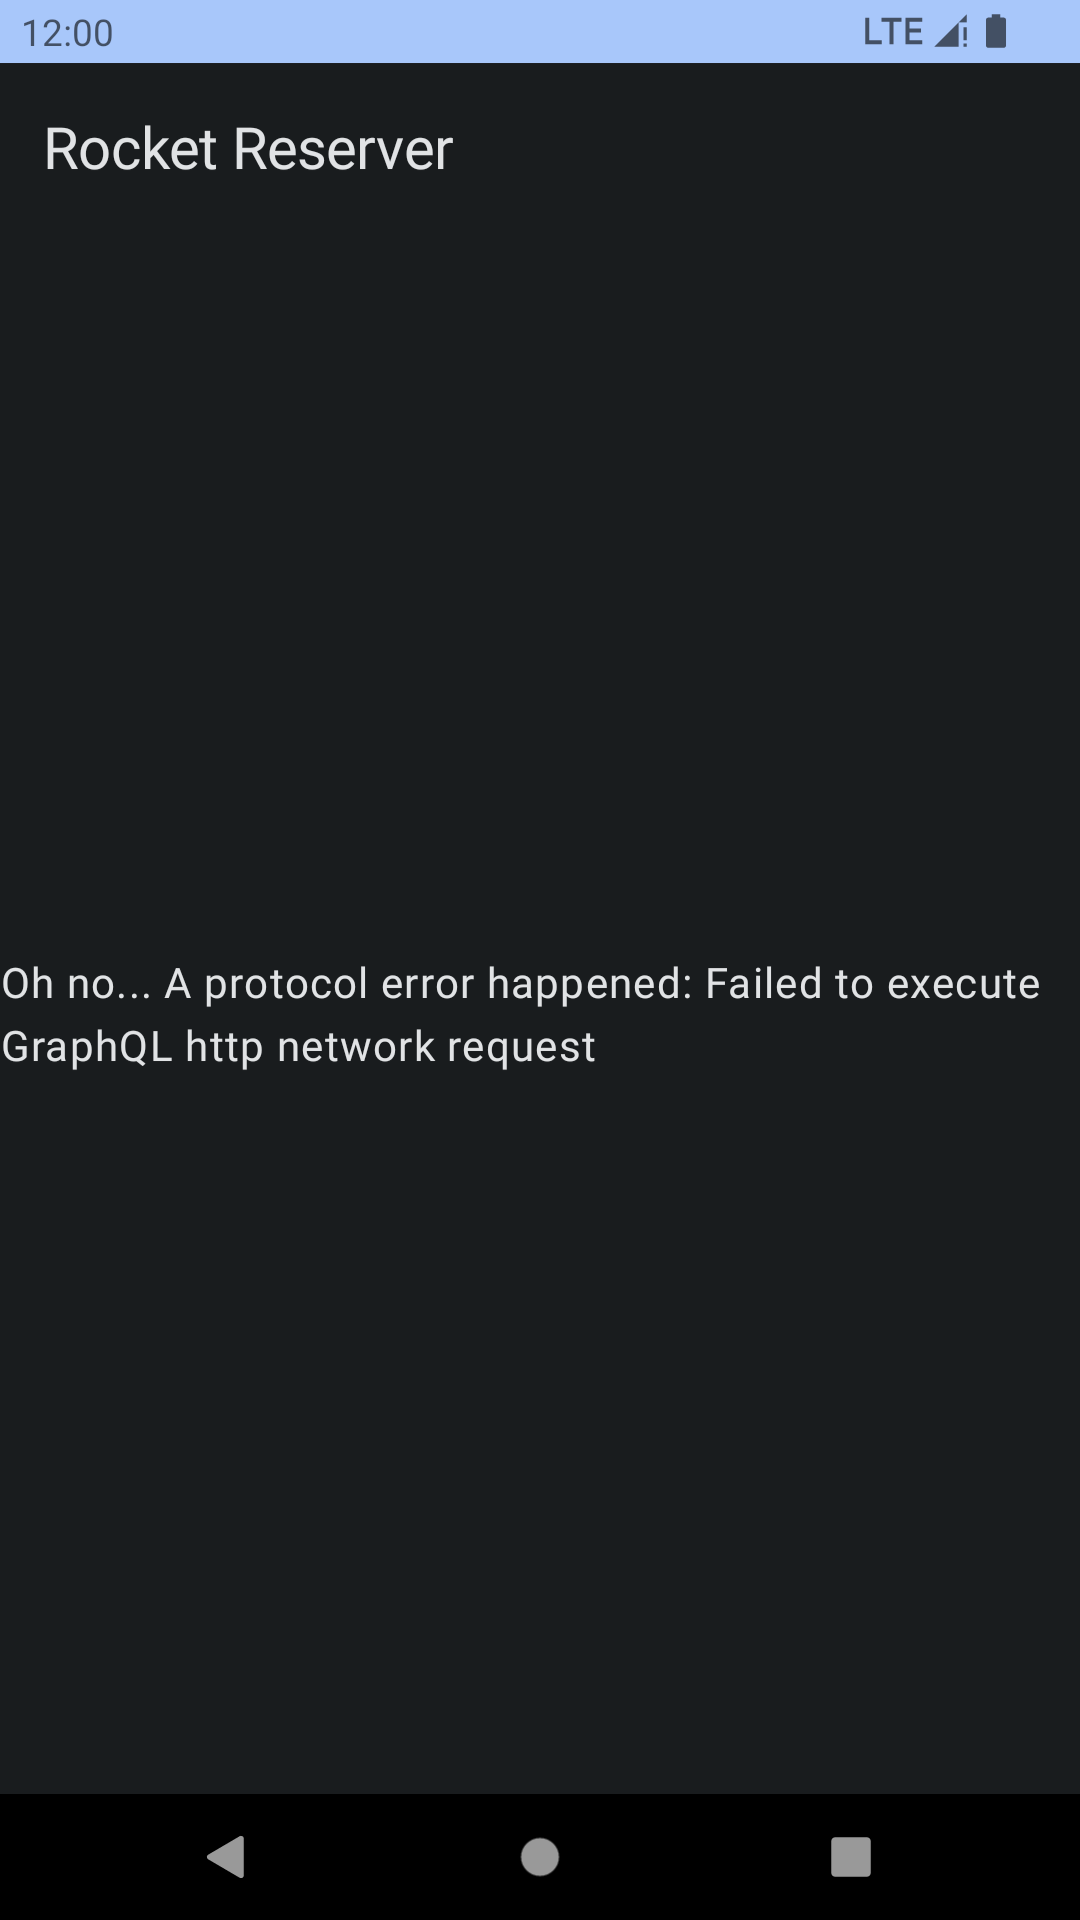
// Use the statewhen (val s = state) {Loading -> Loading()is ProtocolError -> ErrorMessage("Oh no... A protocol error happened: ${s.exception.message}")is Success -> LaunchDetails(s.data)}}
在点击发射的详细信息之前,启用飞行模式。您应该看到以下内容:

这是好的!但这还不够。即使在协议级别上请求执行正确,它也可能包含特定于您服务器的应用错误。
处理应用错误
要处理应用错误,您可以检查 response.hasErrors()。首先,向封闭接口添加一个新状态:
private sealed interface LaunchDetailsState {object Loading : LaunchDetailsStatedata class ProtocolError(val exception: ApolloException) : LaunchDetailsStatedata class ApplicationError(val errors: List<Error>) : LaunchDetailsStatedata class Success(val data: LaunchDetailsQuery.Data) : LaunchDetailsState}
然后,在 try 块中,检查 response.hasErrors() 并将结果包装到新状态中:
state = try {val response = apolloClient.query(LaunchDetailsQuery(launchId)).execute()if (response.hasErrors()) {ApplicationError(response.errors!!)} else {Success(response.data!!)}} catch (e: ApolloException) {ProtocolError(e)}
您还应该更新条件表达式来处理 ApplicationError 情况:
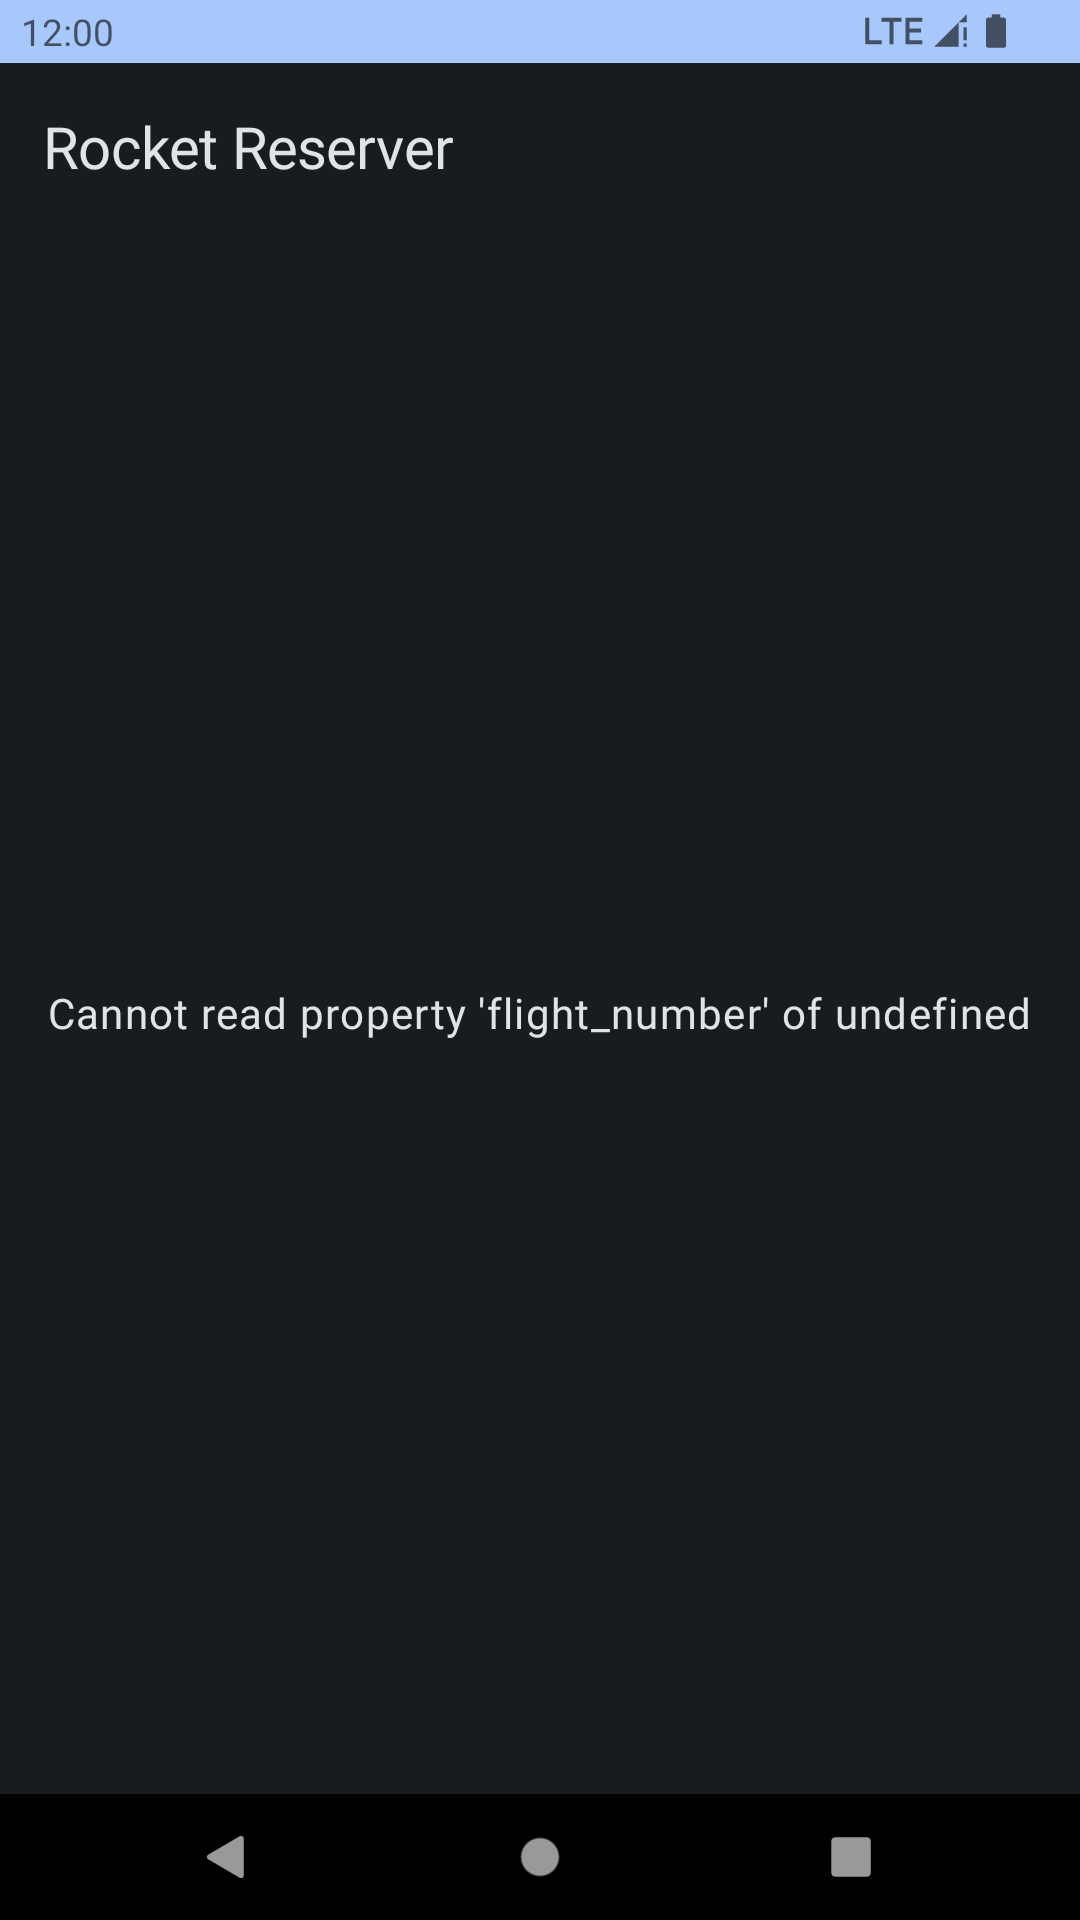
when (val s = state) {Loading -> Loading()is ApplicationError -> ErrorMessage(text = s.errors.first().message)is ProtocolError -> ErrorMessage("Oh no... A protocol error happened: ${s.exception.message}")is Success -> LaunchDetails(s.data)}
response.errors 包含任何发生的错误详情。注意,此代码也对 response.data!! 进行了空值检查。在理论上,服务器不应同时设置 response.data == null 和 response.hasErrors == false,但是类型系统无法保证这一点。
要触发错误,将 LaunchDetailsQuery(launchId) 替换为 LaunchDetailsQuery("invalidId")。禁用飞行模式并选择一个发射物。服务器将发送以下响应:
{"errors": [{"message": "Cannot read property 'flight_number' of undefined","locations": [{"line": 1,"column": 32}],"path": ["launch"],"extensions": {"code": "INTERNAL_SERVER_ERROR"}}],"data": {"launch": null}}

这些都很好!您可以使用errors 字段来添加更高级的错误处理。
在显示详细信息之前恢复正确的启动 ID:LaunchDetailsQuery(launchId)。
处理“现在预订”按钮
为了预订旅行,用户必须登录。如果用户未登录,点击“现在预订”按钮应打开登录屏幕。
首先,我们将一个lambda传递给LaunchDetails来处理导航:
@Composablefun LaunchDetails(launchId: String, navigateToLogin: () -> Unit) {
lambda应在处理导航的MainActivity中声明
composable(route = "${NavigationDestinations.LAUNCH_DETAILS}/{${NavigationArguments.LAUNCH_ID}}") { navBackStackEntry ->LaunchDetails(launchId = navBackStackEntry.arguments!!.getString(NavigationArguments.LAUNCH_ID)!!,navigateToLogin = {navController.navigate(NavigationDestinations.LOGIN)})}
接下来,回到LaunchDetails.kt并将TODO替换为一个调用函数以处理按钮点击:
onClick = {onBookButtonClick(launchId = data.launch?.id ?: "",isBooked = data.launch?.isBooked == true,navigateToLogin = navigateToLogin)}
private fun onBookButtonClick(launchId: String, isBooked: Boolean, navigateToLogin: () -> Unit): Boolean {if (TokenRepository.getToken() == null) {navigateToLogin()return false}if (isBooked) {// TODO Cancel booking} else {// TODO Book}return false}
TokenRepository是一个帮助类,它用于在EncryptedSharedPreference中保存/检索用户令牌。我们将使用它来在登录时存储用户令牌。
返回一个布尔值对稍后根据执行是否发生来更新UI将有用。
测试按钮
运行运行。您的屏幕应如下所示:

现在,您尚未登录,因此您将无法预订旅行,点击将始终导航到登录屏幕。
接下来,您将 编写您的第一个突变来登录后端。